|
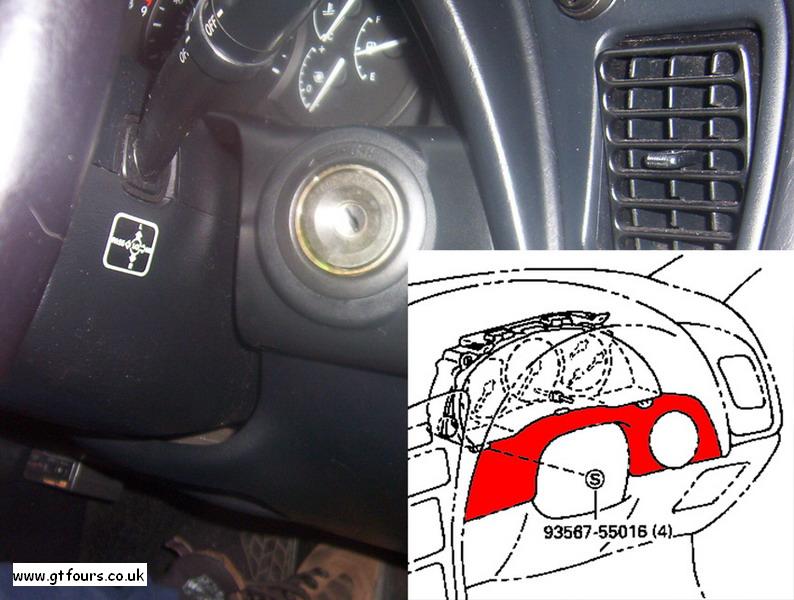
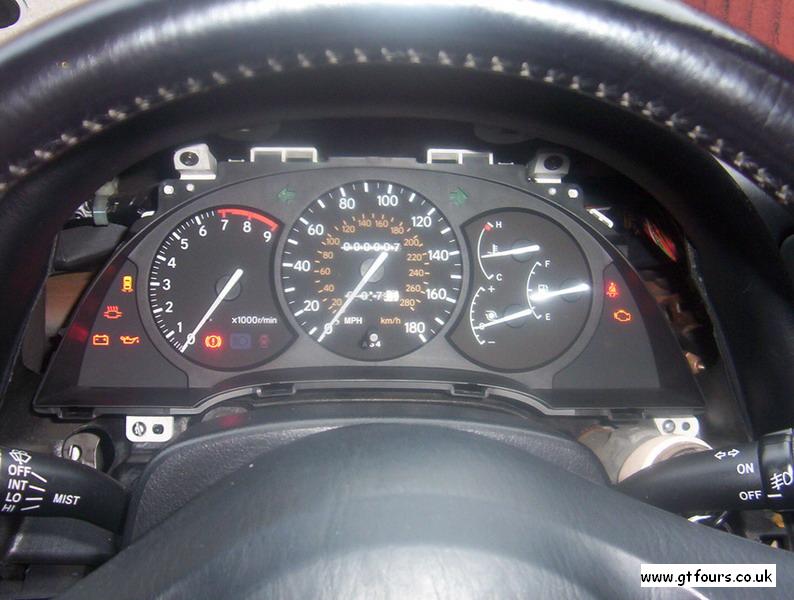
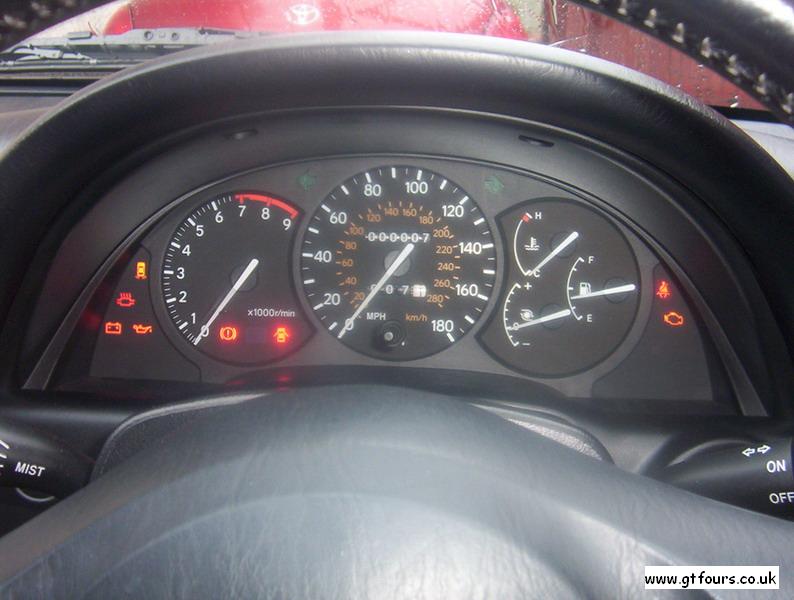
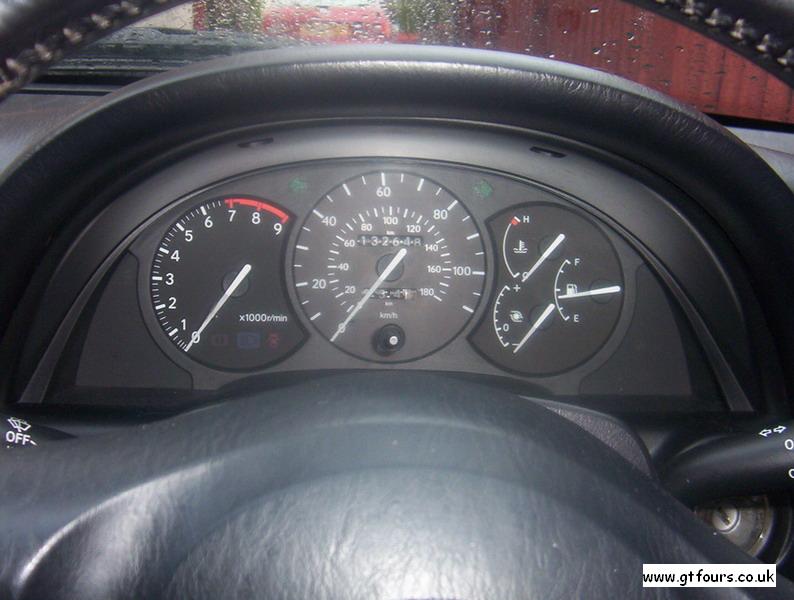
I recommend taking note of all mileages at this point just in case something breaks Before you start use the Steering wheel adjuster and lower the wheel as far as it goes, and move your seat back to give you room to work. Also you may want to disconnect the battery, or pull the dashboard fuses Firstly we have to remove the lower panel surround, this is done by just firmly pulling the surround away as it is only clipped on with spring clips. I have included an image with a blown up diagram highlighting the part to be removed Once this is removed you have access to the lower screws holding the shroud in place. Unscrew these and the ones at the top of the shroud. You will find two screws at the top of the shroud, and two, one at each end holding the lower ends Carefully pull the shroud away and you will now have access to the Speedometer housing |
|
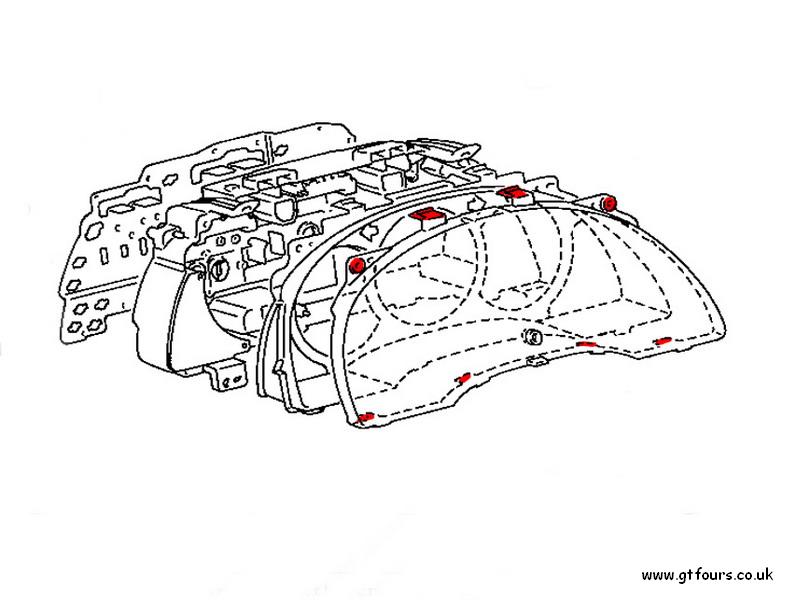
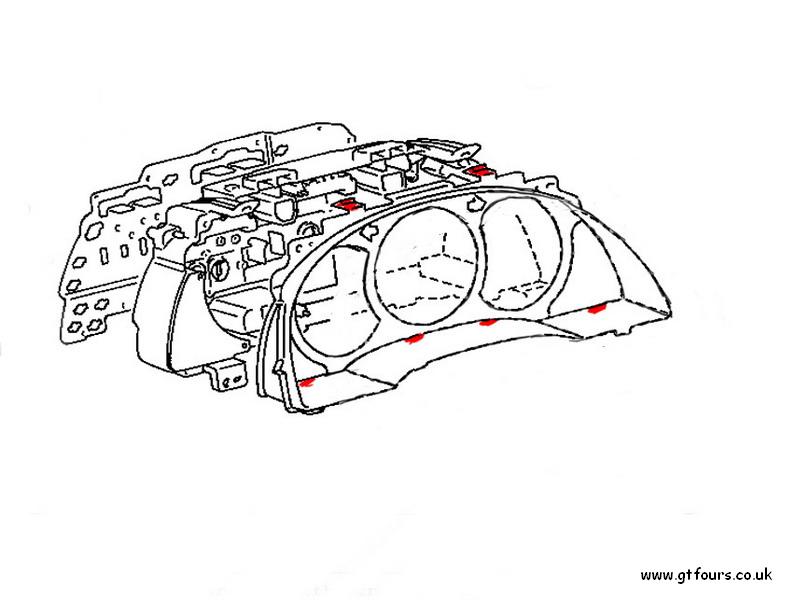
In the case of my GT4 there were many screws missing, which I have replacements on their way At this point we need to remove the glass and inner bezel to allow for easy movement of the assembly to get behind it to unclip the data cables You will need to unscrew the four retaining screws for the assembly to allow easier movement to unclip the screws From here unscrew the retaining screws for the front glass. From here you can now unclip the glass using the tabs. Start unclipping from the top then unclip the bottom. Put the glass in a safe place to avoid scratching. If you refer to the diagram you will see red marks, these indicate where the screws and clips are... Once the Glass is removed be extra careful not to damage or mark your dials, you have been warned!! Once removed you will have access to the Black inner surround of the unit. The same method applies here. Unclip the top first, then move on to the bottom clips, these are a bit harder to unclip, but a bit of patience goes a long way. Again refer to the diagram for the clip locations |

|
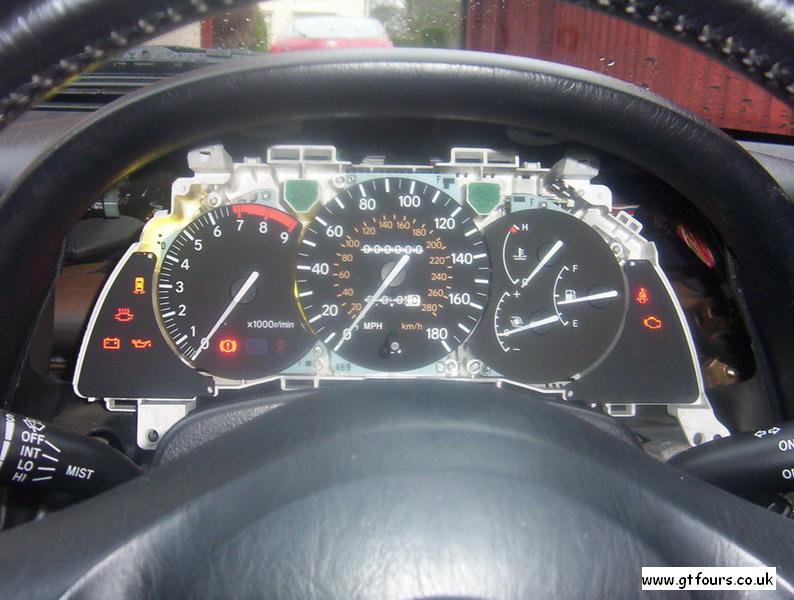
Once removed you will have full access to the unit. At this point you will want to push one corner of the unit into the dashboard hole to allow you to get at one side to unclip the data connectors. These unclip fairly easily, but be careful of the circuit paths on the back of the unit Now that you have one side unclipped, move the unit to the other side and unplug the other two In my case I put the right corner into the hole, pulled the left and centre data cables, then did the left corner, and right data cables Once unplugged you are ready to pull the unit free from the dashboard, take care not to break the mileage reset, or the needles. |
|
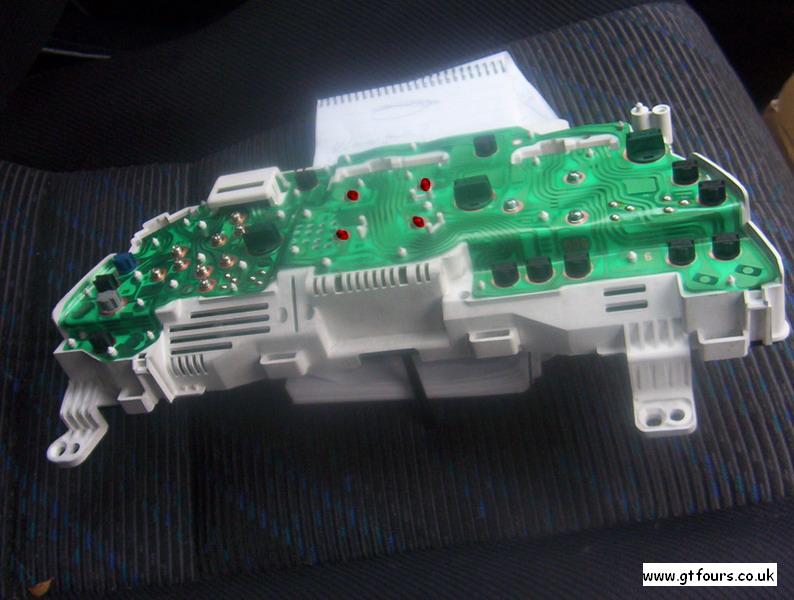
Now you can easily handle the unit and do any other work, at this point I changed a backlight bulb that I had noticed had failed. I replaced it with a 12v 2.2w bulb from Halford's. From here, turn the unit over and look at the back side. You will see the centre unit, the speedometer is held in place by four small screws. These screws have small washers that also act as a medium for the voltage and data to pass through to run the speedo dial assembly Unscrew these four screws and carefully pull the old speedometer unit out of place Now take your new speedometer and place it into the space, it may be a tight fit so take your time and make sure its inserted correctly Replace the screws making sure the washers are in place. Once you hit the tightening point do not over tighten the screws as you may damage the circuit paths/tracks |
|
Take this opportunity to inspect the unit and make sure nothing looks out of the ordinary, and if you feel so inclined give the dashboard hole a clean, and inspect your wiring From here on it's just a case of reinserting the unit. Start by replacing the unit, using the same one corner in method, connect the data cables, move onto the other corner Next, screw in the four mounting screws for the unit so that it sits solid as it will in final installation. Connect the battery/reinstall fuses. Turn on the ignition and check the following; The turbo gauge returns to 0 before engine start At this point I setup my GPS system to allow me to test the speedometer and make sure it was operating correctly. I recommend testing 30mph, 40mph, 60mph, and 70mph speeds. And remember, safety first, if you do use a satnav unit, try and get someone to monitor the speed for you so you can focus on your driving! After a quick run to verify speeds, the speedometer was verified operating correctly. Now that the unit is installed and verified working, you can reattach the inner bezel, which will snap into place fairly easily. As before start with the top clips then the bottom After the inner bezel is in place, you can go ahead and fit the glass into place. Again top clip first, bottom clips second. Also fit your securing screw at the top right and left of the glass. Re-attach the shroud, being careful not to scratch the glass, once it is in place, hold it in position and screw it into place with the top screws first. I pulled the shroud forward a bit to stop it rattling against the main assembly. Screw down the remaining two screws Finally reattach the lower panel surround, and your done! |